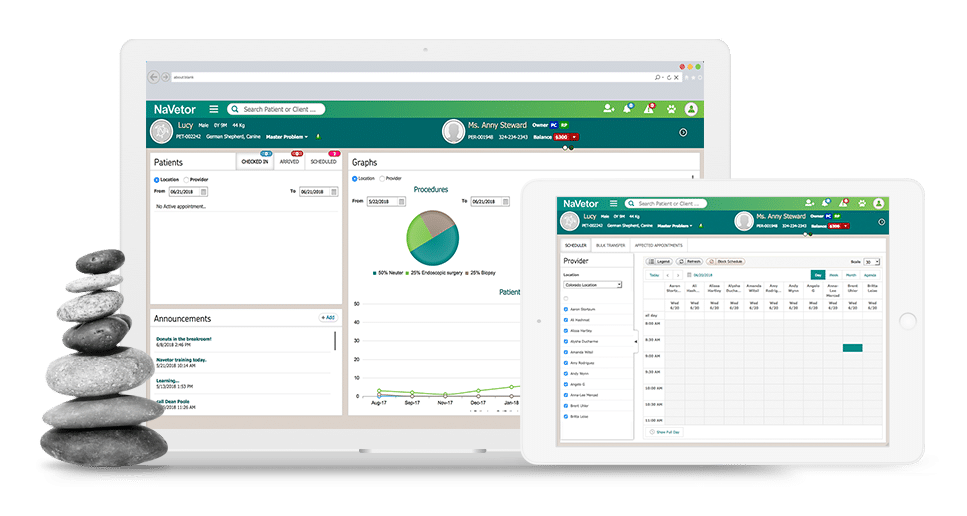
We never stop improving NaVetor! Here’s the latest round of changes and updates that we’ve made to the software. Some of these changes will enable greater flexibility and customization options, while others are smaller enhancements that our users have requested. But they all add up to a more efficient, productive practice.
And that’s a beautiful thing.
SOAP Updates
Editing and deleting functionality is now available in the Plan section of the SOAP. When an item has been added, you will see a pencil “edit” icon as well as an X “delete” icon. Both of these options are now right next to the magnifying glass “view” icon.
Another big update to the SOAP area: no character limits! Use as many characters as needed to describe any items that need annotations in the SOAP.
Quick Navigation Options from the Schedule
You will now see some new navigation options straight from the scheduling screen. Simply click on the Change Appointment Status button to see options to navigate to the SOAP Note, Invoice, and Patient Dashboard.

Create Your Own Appointment Block Type
Now when going to Block Schedule from the calendar, you’ll see a plus sign next to the Block Type dropdown box. Click on the plus sign to create any type of block that you need – it’s now a free-form field. Once you’ve added a new type, it will be available for quick selection the next time you navigate to this area of the software.
Everything else with appointment blocks still works the same. For instance, if you put a block on your calendar where appointments are scheduled, you’ll be prompted to reschedule those affected appointments.
Default Date in the Schedule
We’ve updated the default date when navigating to the schedule. The schedule will now default to the current date, which is determined by the currently recognized date on the device you’re using.
New Filters and Reports Available
When running deposit reports, you now have the ability to filter by Payment Method, Payment Type, or by Payment/Deposit.

We’ve also added a report for tracking Voids and Refunds. This new report is available by navigating to Reporting > Practice Reports. When running the report, you’ll see the following columns:
Client | Patient | Check # | Type | Amount
Adding a Microchip Brand
When creating a new patient or editing a current patient, you’ll see a new option available within the Microchip Brand field.
Similar to adding a new block type, you’ll see the same plus sign available to add a microchip brand. Once you’ve added a new brand, it will be available for quick selection the next time you navigate to this area of the software.
Free Form Adjustment Type Setup
You now have the ability to have an adjustment type for a $0 or 0% amount. This will allow you to enter the value at the time of Invoice, rather than having an already set adjustment price or percent. This means you can edit your adjustment amounts on the fly! The setup is located in the same place in the software by navigating to Settings > Billing > Adjustment Types.
Client/Patient Banner Balance Indicators
If the client has a balance due, you’ll see that amount in red. Any balance of $0 on the account will stay green.

Indicator for Added Items to an Invoice
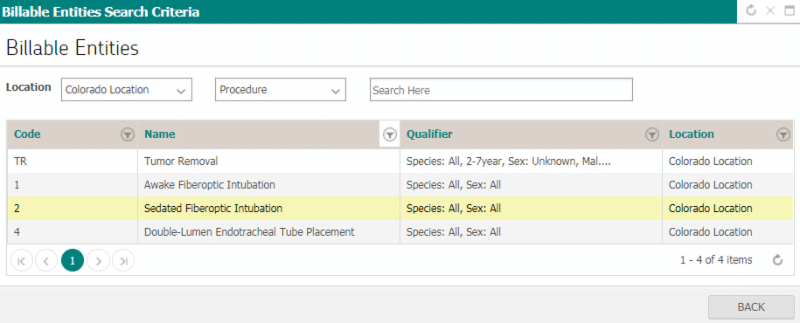
A change was made to the add items search box in the invoice screen. Now when you click to add an item, the background color of the item will change to yellow. Items that came in automatically that were added to the plan will also show the yellow color.

For more information or assistance using these features, please call us at 833-NaVetor or email us at support@navetor.com.

